
A valid trademark can still leave you unable to create an Amazon Brand Store. Amazon Brand Registry's eligibility guidance requires acceptable trademark evidence and permanent product or packaging branding, while Store access also depends on enrollment and the correct account permissions. Amazon storefront requirements are an ownership and access problem before they're a design problem.
Brand Store Requirements at a Glance
Amazon Brand Store access gates
| Requirement | Where it lives | Pass condition |
|---|---|---|
| Professional selling account | Seller Central plan | Pass: Professional plan, not Individual |
| Brand Registry enrollment | Brand Registry | Pass: Brand enrolled with a pending or registered trademark |
| Account in good standing | Account Health | Pass: Active account, no block on brand tools |
| Amazon Ads registration | Amazon Ads | Pass: Ads account registered for the brand |
| Products listed for sale | Catalog | Pass: At least one live ASIN under the brand |
| Correct selling roles | Brand Registry users | Pass: Roles assigned before Store creation |
A Brand Store isn't a standalone subscription or a design upload. Treat these requirements as linked gates, not interchangeable credentials. Paying for a selling plan doesn't establish trademark ownership, and having an enrolled brand doesn't automatically authorize every user on your team.
Start with Seller Central's selling plan, not the Store editor. Professional means the paid Professional plan, rather than Individual. Then check whether the actual brand is enrolled in Brand Registry, rather than assuming that a submitted trademark application means enrollment is complete.
Check the account before assigning creative
Open Account Health and resolve restrictions that affect access to brand tools. An employee who can sign in and view orders hasn't necessarily confirmed that the account can create a Store.
Amazon Ads registration is a separate setup task. Complete it even if you intend to send the first visitors through your brand byline, email, or organic channels. Registration and a decision to spend on advertising aren't the same operational step.
For a non-resident business establishing its seller account, Cloud Residents' guide to a US address for non-resident Amazon sellers is a useful account-setup resource. Keep address documentation separate from the evidence that establishes your right to operate the brand.
Before calling the account ready, have the operator demonstrate access rather than report that setup is finished:
- Catalog: Open the intended products and confirm they're available for sale under the correct brand.
- Brand Registry: Check the enrolled brand and the user responsible for operating it.
- Store access: Verify that the intended creator can select that brand in the Store builder.
Practical rule: A requirement passes when the assigned operator can verify it in the relevant account, not when someone says the paperwork was submitted.
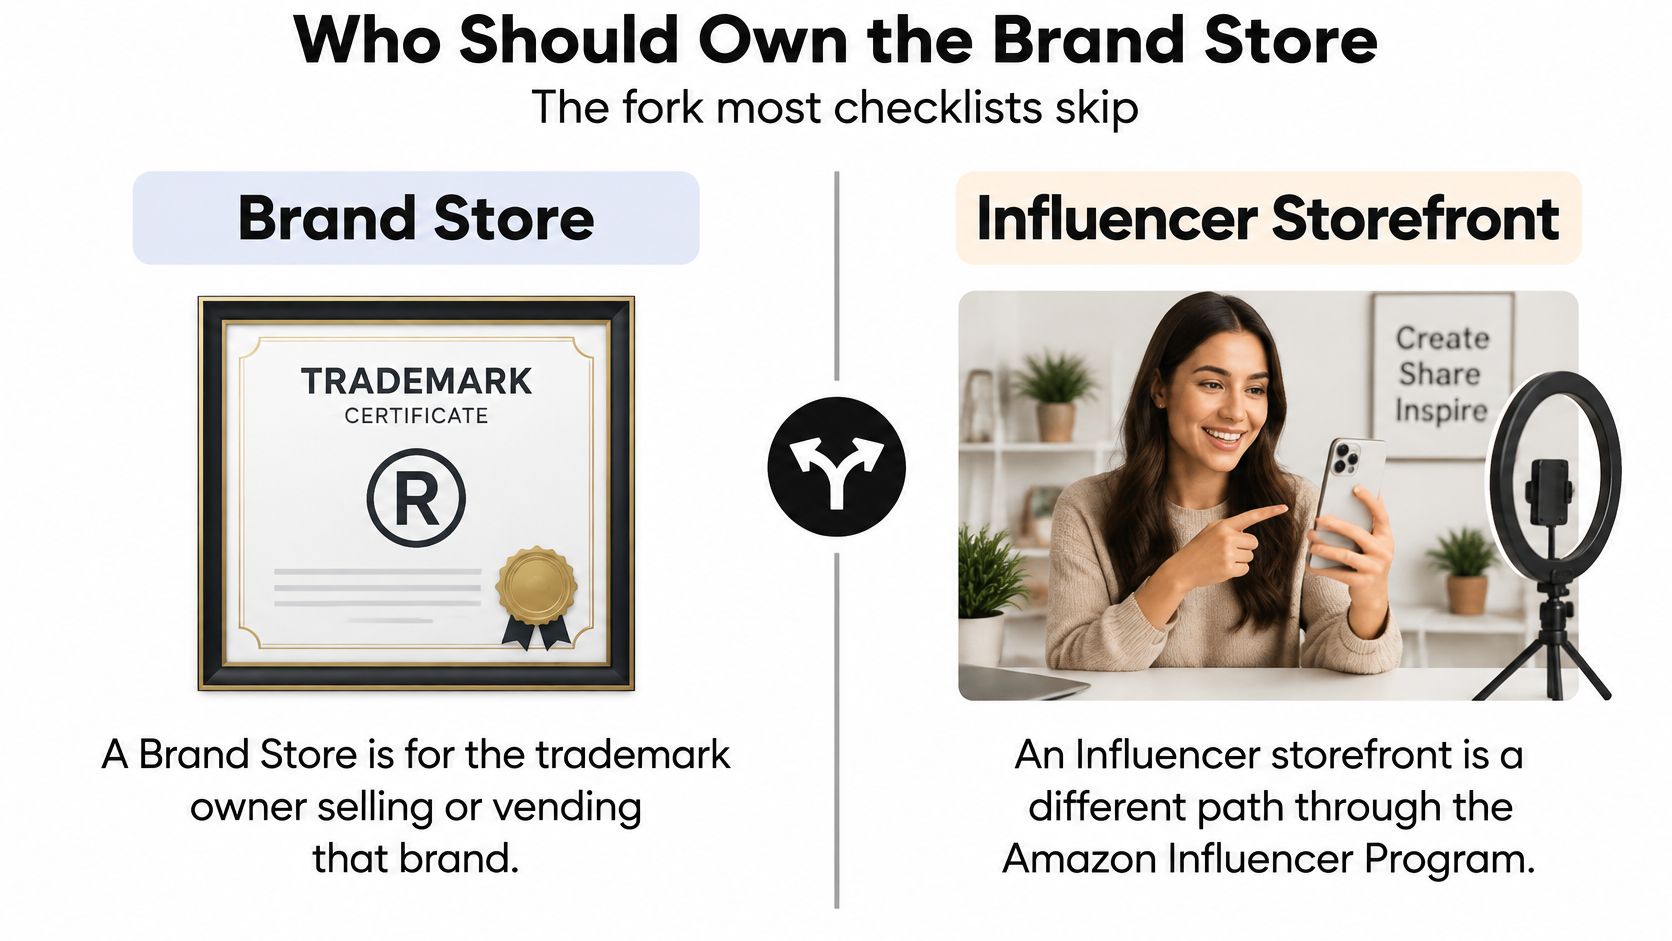
Finally, distinguish the destination you're building. A manufacturer selling its own products needs a Brand Store. A creator recommending products follows the Amazon Influencer Program path. The requirements here concern the Brand Store, not a creator's recommendation storefront.
Who Should Own the Brand Store
Brand Stores and Influencer storefronts serve different owners. Amazon's storefront guide distinguishes the brand-owned destination from the Amazon Influencer Program and says the trademark owner should enroll the brand, with employees or agencies added as authorized users.
A manufacturer doesn't need to become a creator to build its brand destination. Equally, a creator's ability to recommend products doesn't establish ownership of those products' trademarks.
Separate ownership from operating access
The trademark owner should retain control of Brand Registry enrollment. An agency, employee, or distributor can operate within assigned permissions, but shouldn't enroll as though it owns the mark.
That distinction matters when commercial relationships change. A distributor might manage the catalog today and stop carrying the line later. Your ability to maintain the Store shouldn't depend on access to that distributor's employee inbox.
Before approving design work, record:
- Legal owner: The entity that owns the trademark and controls brand enrollment.
- Creating account: The Seller Central account authorized to create and manage the destination.
- Editing users: The named people who need permission to build, approve, or maintain pages.
- Access administrator: The owner-side person responsible for adding and removing operators.
The creating account should be under business control, with recoverable credentials and an accountable administrator. Individual editors should use their own authorized access rather than share the owner's login.
Plan the handoff before it happens
Access transfer is an operating procedure, not a password exchange. When an operator changes, confirm the replacement user's permissions, test access to the Store, and remove the departing user from the relevant Brand Registry and account permissions.
Keep source artwork, approved copy, product mappings, and launch notes in a brand-controlled workspace. Otherwise, you can retain technical access to the Store while losing the material needed to update it.
For international teams, include the marketplace in the ownership record. Don't treat an operating arrangement for the United States as blanket authorization for Canada, the UK, or the EU. Confirm who controls enrollment and publishing in each intended market before local teams start building.
The brand should be able to change operators without changing who controls its identity on Amazon.
A little administration prevents expensive rework. A polished Store built under unclear authority is harder to maintain than a modest Store with clean ownership, documented permissions, and an orderly handoff process.
Brand Registry Proof Amazon Will Accept
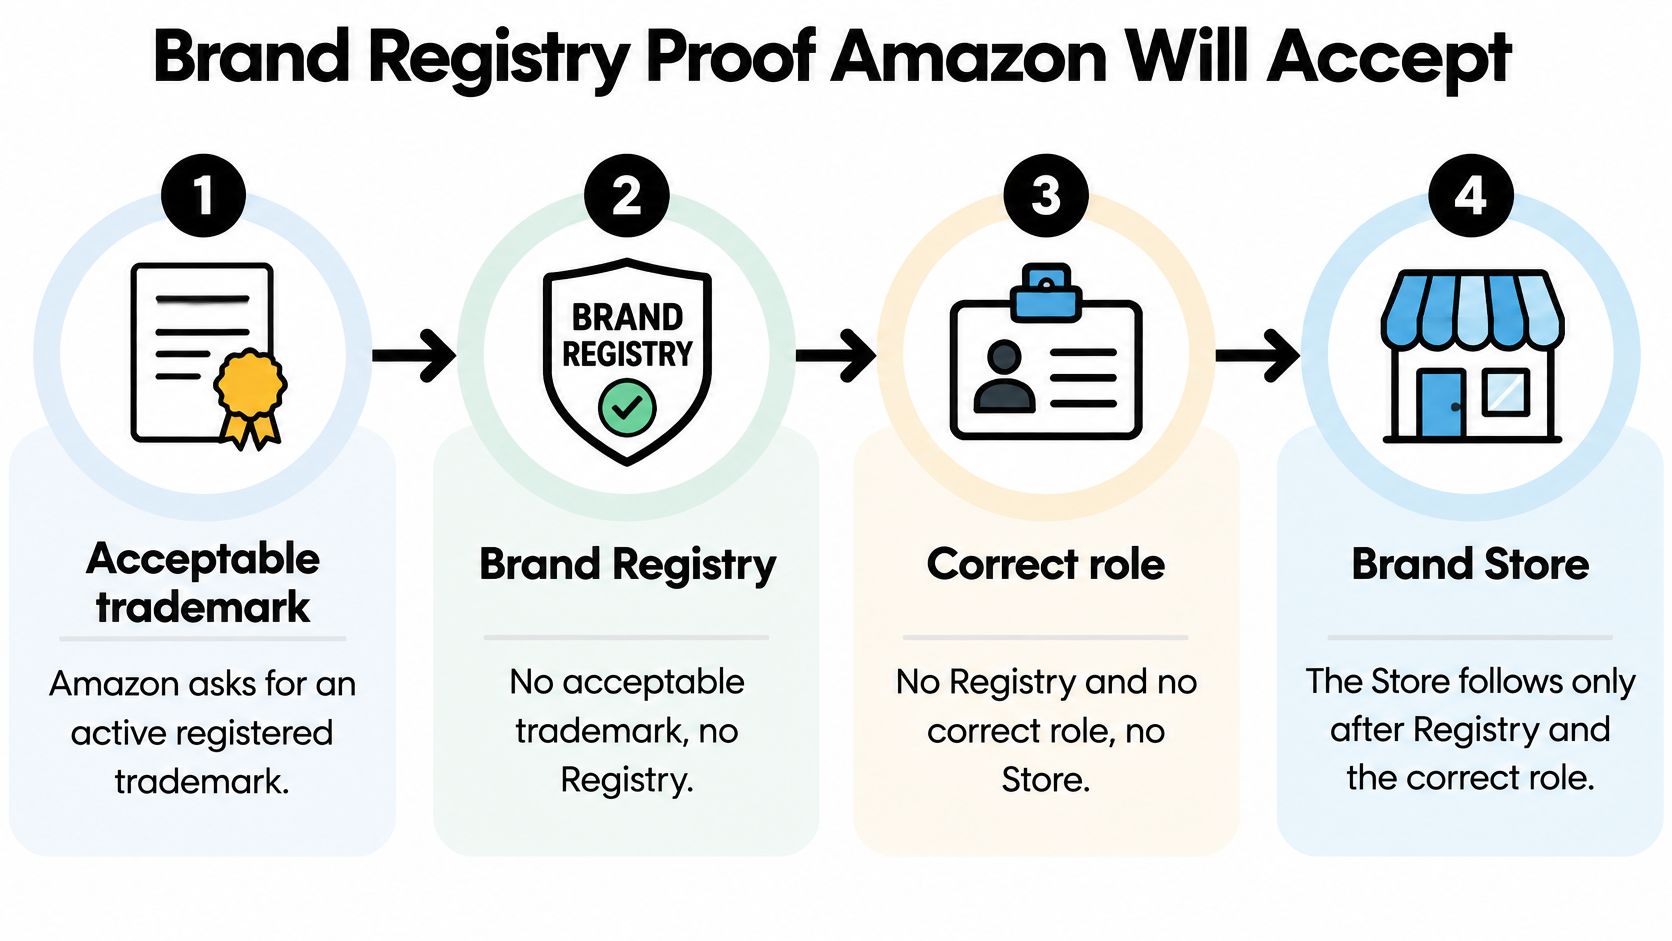
Trademark evidence and physical branding must agree. Amazon's Brand Registry requirements call for an active registered trademark or an accepted pending application from an eligible government intellectual-property office, plus a brand name or logo permanently affixed to the product or packaging.
Amazon also asks for the trademark registration or application number, product-category information, and images showing that branding. A certificate alone doesn't complete the evidence package.
Assemble evidence in dependency order
Start with the trademark record. Confirm its status, the issuing office, the owner, and the exact brand representation you intend to use on Amazon. Don't copy the customer-facing name from an old presentation and assume it matches.
Next, inspect a physical production unit or its retail packaging. A logo on your website doesn't demonstrate permanent branding on the goods. A removable hangtag, used as the only proof, doesn't satisfy the permanent-affix requirement either.
Use this sequence:
- Confirm the mark. Establish that the registered mark or pending application is eligible for the intended enrollment.
- Photograph the physical branding. Show the product or packaging clearly enough that the brand identity and its placement are evident.
- Reconcile the application. Match the brand spelling, trademark details, category information, and evidence images.
- Enroll through the owner. Add authorized operators after ownership and enrollment are established.
Our Amazon Brand Registry requirements guide provides a dedicated checklist for preparing that enrollment package.
Check packaging and jurisdiction separately
Packaging creates an avoidable mismatch when marketing teams update the wordmark without coordinating the trademark and Amazon records. Say the registered name is Cedar Home, but the photographed carton says Cedar Home Essentials. Don't assume the additional word is irrelevant to the application.
Resolve the identity discrepancy before submitting more photographs of the same inconsistent packaging. Better lighting can improve evidence quality, but it can't turn a different brand representation into a matching one.
Jurisdiction requires a separate check. A brand entering the United States, Canada, the UK, or the EU should confirm eligible trademark evidence for each intended enrollment. Don't promise a local Store launch just because the brand already operates elsewhere.
The practical handoff to design is an approved identity package: accepted trademark details, consistent physical branding, usable evidence images, and authorized account access. Until those agree, keep creative work to planning and reusable asset preparation rather than a full marketplace-specific build.
Tile Specs and Content Rules
Store asset limits Amazon moderates
| Asset | Limit | What fails moderation |
|---|---|---|
| Hero image | 3,000 x 600 px minimum | Undersized image or a crop that makes content illegible |
| Brand logo | 400 x 400 px minimum | Tiny or distorted mark |
| Each listed file | 5 MB maximum | Oversized upload |
| Hero, gallery, extra-large full-width text | 32 px minimum height | Illegible overlay type |
| Other image-tile text | 16 px minimum height | Type below the tile floor |
| Video | 5 minutes maximum | Over-length or non-general-audience content |
| Claims and language | Marketplace primary language | Named-competitor attacks or the wrong language |
These dimensions, file caps, text-height requirements, and video duration limits appear in Amazon's Stores content acceptance policy, alongside requirements for high-resolution, undistorted imagery and general-audience content.
A compliant canvas size doesn't make an asset publication-ready. If the important product detail disappears in the mobile crop, the shopper still gets a poor experience. A desktop-only composition isn't automatically a policy violation, but it becomes a moderation risk when cropping produces illegible text or unsuitable presentation.
Design for the tile, not the original artwork
Start with the tile's purpose and placement. A hero should establish the collection or shopping mission quickly, while product tiles should help shoppers reach relevant live ASINs. Store pages are a cross-sell surface, not a second copy of the product detail page.
Don't squeeze listing bullets into a lifestyle image. Keep promotional lines outside critical image regions where possible, and use editable text placements when they give you better control across devices.
For asset preparation, MyImageUpscaler's advice on sharper images for e-commerce listings can help teams improve the source photography before export. Our Amazon image requirements guide is useful when separating listing-image work from Store-specific creative.
Check each export rather than only the master file:
- Resolution: Inspect the actual uploaded image for softness, stretching, and compression artifacts.
- Text: Confirm the tile-specific floor and inspect readability in the mobile preview.
- Composition: Keep the product, wordmark, and essential message away from vulnerable crop areas.
- Compression: Reduce file weight without turning lettering or product edges into blur.
Review copy as strictly as artwork
Use the marketplace's primary language throughout the customer-facing creative. Check text inside images as well as editable headings, because a translated page can still contain an untranslated banner.
Remove comparative claims that denigrate named competitors or their products. Replacing an attack with a clear description of your own material, use case, or product feature usually creates a more useful shopping message anyway.
Before export: Approve the claim and composition first. Compressing a file won't fix copy that moderation can't accept.
Finish with a policy read independent of the design review. The person checking typography may overlook a competitor reference, while the person approving claims may never open the phone preview. Assign both checks explicitly before submission.
How to Create and Submit the Store
Build the first version around a clear shopping path, not the largest possible page count. A compact Store with available products is easier to validate than a sprawling catalog presentation with unfinished destinations.
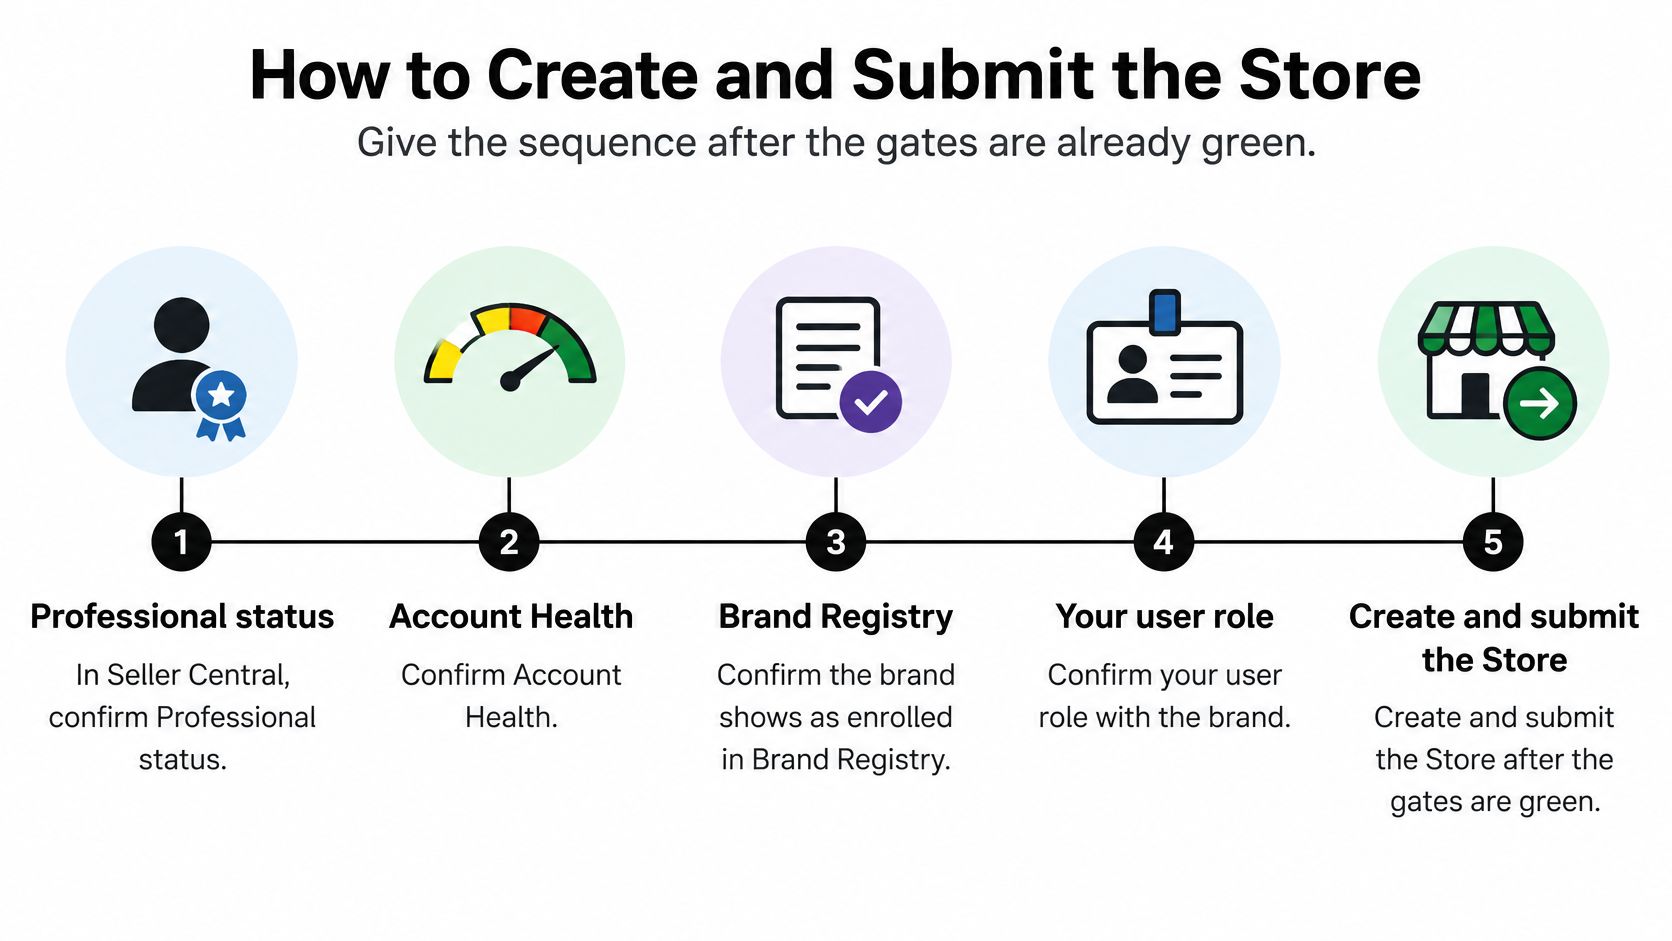
Move from verified access to a testable draft
Verify the operating account. In Seller Central, confirm the selling plan, inspect Account Health, and check that the enrolled brand is available to your authorized user. If the brand is missing, investigate enrollment or permissions before opening a support case about design tools.
Confirm Amazon Ads registration. Use the registration associated with the intended brand and business account. Don't create an unrelated personal setup just to get past a sign-in screen.
Open the Store builder. In Seller Central, go to Stores, then Manage Stores. Select Create Brand Store and the intended brand, checking that you're working in the correct marketplace.
Build a focused shopping journey. Start with a home page and a category or collection page, then connect product tiles to in-stock ASINs. Name pages for how customers shop, rather than internal merchandising codes.
Load approved assets. Use exports that have already passed your technical and policy checks. Keep an asset register showing which file belongs to which tile so a rejected image can be replaced without searching through drafts.
Test mobile and desktop. Open every navigation item and product destination in the preview. Check the phone layout deliberately, including crop, text, product order, and whether the next shopping action is obvious.
Submit with review time reserved. Amazon's Store setup guidance says moderation is usually completed within 24 hours, but can take as long as 3 business days. Reserve at least a business day under normal conditions and the full contingency when paid media, a promotion, or a launch email depends on publication.
Resolve the stated rejection. If moderation identifies a tile or claim, correct that item and resubmit. Don't rebuild account permissions unless the problem concerns access.
Separate submission from release
A Store that looks finished in the editor isn't necessarily live. Keep the campaign release decision with someone who can inspect the published destination, not just see that the designer clicked submit.
Before releasing traffic, open the customer-facing Store and verify the intended version, navigation, and product availability. A preview screenshot is approval evidence for creative, not proof that customers can shop the destination.
For a Prime event or coordinated product introduction, submit early enough to allow correction as well as review. Using the entire contingency for the first submission leaves no room to fix a rejected asset.
Preflight Cases That Still Get Rejected
A clean account and accepted trademark don't guarantee approval of every Store submission. Amazon's Store eligibility and moderation guidance makes content compliance and account standing continuing requirements, so preflight needs to cover the finished destination as well as the owner's credentials.
The trademark is valid, but the evidence disagrees
Say a manufacturer has a registered wordmark, but its evidence photo shows only a removable logo tag. Alternatively, the box carries an expanded brand name that doesn't match the enrollment details.
The registration may be valid while the evidence package remains unsuitable. Fix the physical branding or identity mismatch, then photograph the corrected product or packaging. Repeatedly submitting the same discrepancy won't resolve it.
Keep this distinction clear in internal reporting. A packaging-evidence problem isn't the same as a rejected trademark, and the corrective action belongs with the team that controls packaging and brand identity.
The account is clean, but the creative fails
A designer delivers a polished laptop presentation. On a phone, the hero message becomes hard to read, and a collection tile describes a named rival as inferior.
Treat the tile as the problem. Rework its composition, use compliant text sizing, and replace the competitor attack with an accurate explanation of your own product. There's no reason to reopen enrollment because a creative reviewer rejected the copy.
The Store is submitted, but the campaign launches first
Consider a launch email scheduled for the same hour as submission. The promotion starts, moderation hasn't finished, and customers reach an unpublished or unavailable destination.
The fix is a publication-dependent release, not a more optimistic calendar. Schedule the external push after the review contingency, then require a live-page check before sending it. If approval slips or corrections are needed, hold the campaign rather than pay to send shoppers somewhere they can't buy.
Run a final operational preflight
Assign an owner to sign off on each item:
- Identity: Trademark spelling, packaging branding, and submitted brand details agree.
- Availability: Every featured ASIN is live, relevant, and available to purchase.
- Account: Account Health has no unresolved restriction affecting access.
- Permissions: The publishing user has the intended brand role.
- Rendering: Mobile crops preserve the product and essential message.
- Files: Export size, resolution, and tile-specific text meet the applicable limits.
- Copy: Marketplace language is consistent, with no named-competitor attacks.
- Release: Someone will verify publication before activating external traffic.
Save the approved files and preflight record with the Store version. That gives the next editor a reliable starting point instead of a folder full of almost-final assets.
Publication also isn't permanent clearance. If account standing later changes, investigate the account issue rather than assuming a fresh hero image will restore visibility.
Read Store Insights Before the Next Build
Total account revenue can't tell you which Store page needs work. In Seller Central or the advertising console, open the relevant Store and select See Insights. Amazon's Stores Insights guidance identifies daily visitors, page views, and attributed sales, with analysis by Store page and traffic source.
Give every page a job before judging it. Compare the home page with a category or collection page over the same reporting period. Then compare paid traffic with other sources, and tag off-Amazon links so social, email, and creator clicks appear as their own sources instead of folding into one unknown figure.
Diagnose before redesigning
- Visitors without attributed sales: Check product relevance, available offers, in-stock ASINs, and the match between the traffic source and the page.
- Little page activity: Inspect navigation and traffic routing before buying more visits. An untested page should not become a major ad destination.
- Uneven source performance: Send shoppers to the collection that matches their intent rather than routing every campaign to the home page.
A blank advertising report doesn't prove the Store received no visits, because Brand Store reports aren't available in every reporting context. Read the Store's own Insights view, and keep it separate from the wider catalog research available through Amazon Brand Analytics. The first covers what happened inside the Store; the second suits broader search-term and audience questions.
Keep editing rights under owner control while you optimize. Change one specific merchandising or navigation issue at a time, record it, and re-read the same page's Insights rather than crediting every movement in account sales to the redesign.
When unauthorized sellers or MAP violations weaken the offers your Store promotes, fix the listings through enforcement work rather than adding another tile. Online Brand Growth handles Brand Registry enforcement against unauthorized sellers and MAP violators; before scaling traffic, our free Amazon profit calculator, FBA storage fee calculator, and sales rank checker support margin, storage-cost, and sales-rank review.
Online Brand Growth builds multi-page, mobile-first Amazon storefronts designed to convert and cross-sell. Book a free strategy call to review your access gates, Store launch plan, and margin before scaling traffic.